Spring Security简单入门
首先,按照图示新建项目。
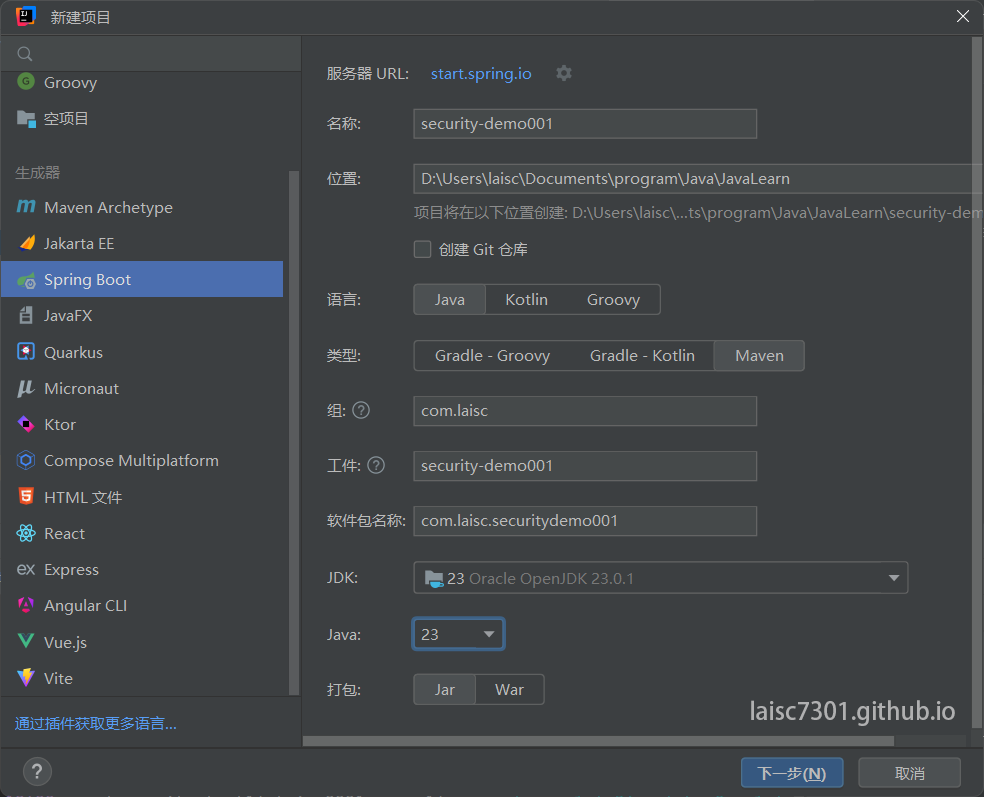
首先,按照图示新建项目。
首先根据图示创建项目:
_1.png)
在 JavaScript 中,异步编程的主要方式包括 回调函数 (callback)、Promise 和 async/await。以下是它们的用法和例子:
回调是最早的异步编程方式。通过将一个函数作为参数传递给另一个函数,来在计时完成后调用它。
1 | function doSomethingAsync(callback) { |
缺点:嵌套深时可能会导致“回调地狱”(代码难以维护)。
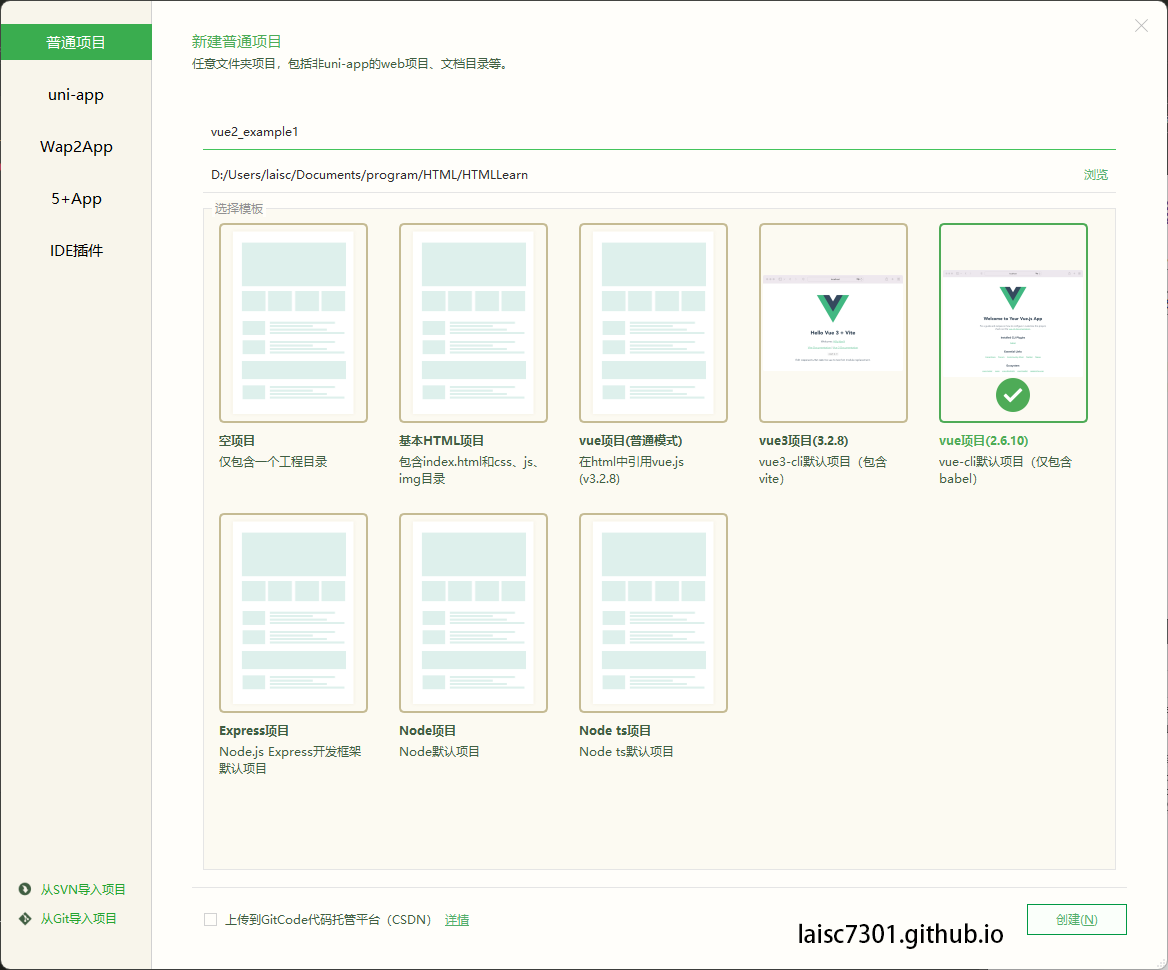
第一步:打开HBuilder X,新建项目。
等文件下载完后,进入项目,这时如果直接运行npm run serve,会报错,别急。
打开package.json文件,找到下面的代码:
1 | "scripts": { |
修改成这样:
1 | "scripts": { |
此时运行npm run serve,就会看到欢迎页面了
首先,如果要使用ES Module,你需要这样写
1 | <script type="module" src="./js/main.js"></script> |
或者这样:
1 | <script type="module"> |
记住一定要写type="module",还有路径一定要是相对路径。
半透明的函数长这样
1 | void setWindowOpacity(qreal level); |
比如要实现60%的不透明度,就这样写:
1 | setWindowOpacity(0.6); |
注意:
如果这样写:
1 | setWindowOpacity(0); |
窗体会变成全透明,这时窗体会被隐藏掉,而且无法点击窗体内的任何东西,且通过show();也无法显示出来。
[!NOTE]
本教程是《SpringBoot系列基础教程》之一,教程目录:https://laisc7301.github.io/blog/2024/01/29/202401290001SpringBoot%E7%B3%BB%E5%88%97%E5%9F%BA%E7%A1%80%E6%95%99%E7%A8%8B/
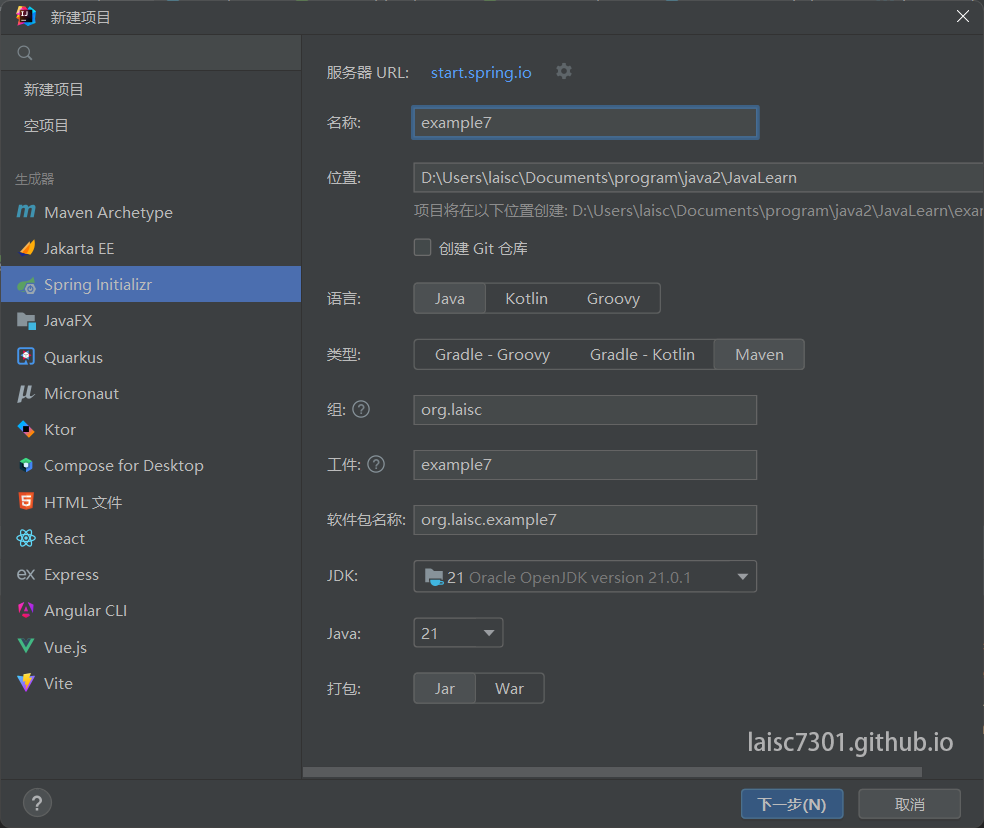
首先按照图示新建项目:
[!NOTE]
本篇内容需要在上一篇的基础上进行。
请找到上一篇的项目代码,本篇在上一篇的源代码上进行编写。
打开上一个模块的源代码(my-consumer-feign),我们继续进行。
整个项目的文件结构如下图所示:
